As a traditional woodworker, I found it extremely difficult to morph into the world of technology. Whether it was a CNC machine or the latest iPhone, It was all unknown technology to me. Little did I know, it was about to change my life.
My name is Mike Mordas, and I own and operate a small fishing lure manufacturing business named Muskie Train Enterprises. Most of my products are manufactured out of wood. My old methods with jigs and fixtures were still working fine. The only problem was: I was getting older, and unable to sustain the physical requirements of my growing business. In the summer of 2016, I took a risk and purchased a small, used CNC machine, with only a limited back ground in drafting and computer-aided design (CAD).

Within weeks, I could see the potential in CNC technology for my business, but I knew it was going to take some time and energy to learn the software AND hardware, and recreate my products. I will not lie, there was some frustration along the way, but there also some major victories! Fast forward to 2024, and I now operate eight CNC machines in my manufacturing process. It turns out an old dog can still learn some new tricks!
Because I have found such great value in CNC machining, I wanted to write this blog and share some of my processes.
There are three main components to the CNC manufacturing process: artwork, tooling/machining, and securing you work piece for machining (or, in other terms: software, hardware, and not sending your work piece flying across the room!). The last one is probably the most debated, as everyone has a different materials and products to hold on to. This is all custom work.
All digital manufacturing technology (CNC machines, lasers, 3D printers, etc.) work off of what is called a vector drawing or file. Translation: lines and geometry. These lines and shapes are then assigned a tool path. The machine follows the lines, thus creating your part.
The first step is understanding two-dimensional drawings. 2D projects are all flat work – an example would be a flat piece of wood that you want to put a groove and several holes into. You would draw the 2D lines and locations, and the machine would cut out your groove and holes. Pretty simple; the computer does most of the arithmetic! Learning 2D design takes some time, but there are MANY resources online to help you along your journey.
Three dimensional artwork was a whole other story! Think of 3D creations as a sculpture: made of many shapely lines and figures. The software for this type of artwork is fairly complicated, and a strong knowledge of 2D design is strongly recommended first (to minimize headaches). There are many services available online that offer catalogues of premade 3D models – some free, and some quite expensive!

Now that we have an understanding of 2D and 3D artwork, let’s make something! With our finished design in hand, will proceed to do what is call CAM. As a side note: you will often to will hear the terms “CAD/CAM” together.
Computer-Aided Design.
Computer-Aided Machining.
(They go hand in hand.)
Based on the project that we’ve created, and the results we are aiming for, we have some important decisions to make:
“What tooling do we use?”
“How fast do we want the tool to spin?”
“How fast do we want the tool to traverse across the material?”
“Do we want to cut on, above, or below our created lines?”
These decisions will factor into the end result of our machining. Recommended “feeds and speeds” are typically available on line from the tooling manufactures themselves, but it will always require some trial and error. When starting out, I recommend purchasing inexpensive tooling (you are going to break them!). Once you have a proven machining pattern, begin upgrading your tooling. It will make a world of difference on the finish, and minimize sanding afterwards!
The third and final step is figuring out how to secure your work piece to your CNC machine’s bed. If the piece isn’t held securely to the table, you will not achieve accuracy, or you will have a projectile flying across the room. If your clamps are too big and bulky, the cutter will crash into them and destroy your bit (it will happen, unfortunately).
The trick is to develop a clamping method that is reliable and easy to set up. I wish I could provide you with the industry secrets that will eliminate all headaches, but these solutions are dictated by your project and material. With experience, this will become less of a burden as you accumulate various types of clamping and holding fixtures that will be on hand to reuse on other projects.
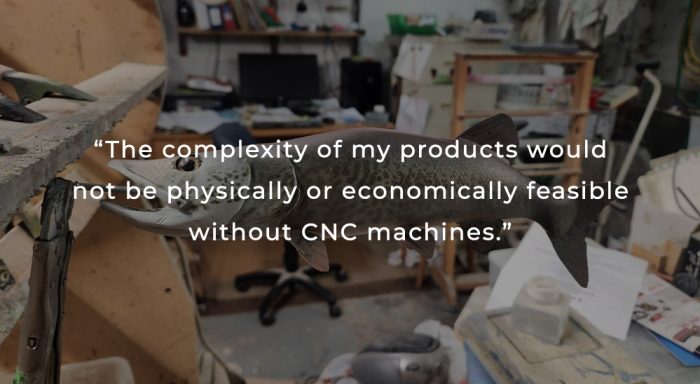
Without hyperbole, I can confidently say that CNC machines have changed my life. They have helped expand my business through the ability to manufacture several products at once, and improve the overall quality of my fishing lures. The complexity of my products would not be physically or economically feasible without CNC machines. And most importantly, less sanding and wear-and-tear on my body! If I could make any recommendation to someone who is trying to grow their small business, it would be to explore the world of CNC machining.
It might just change your life, too!
